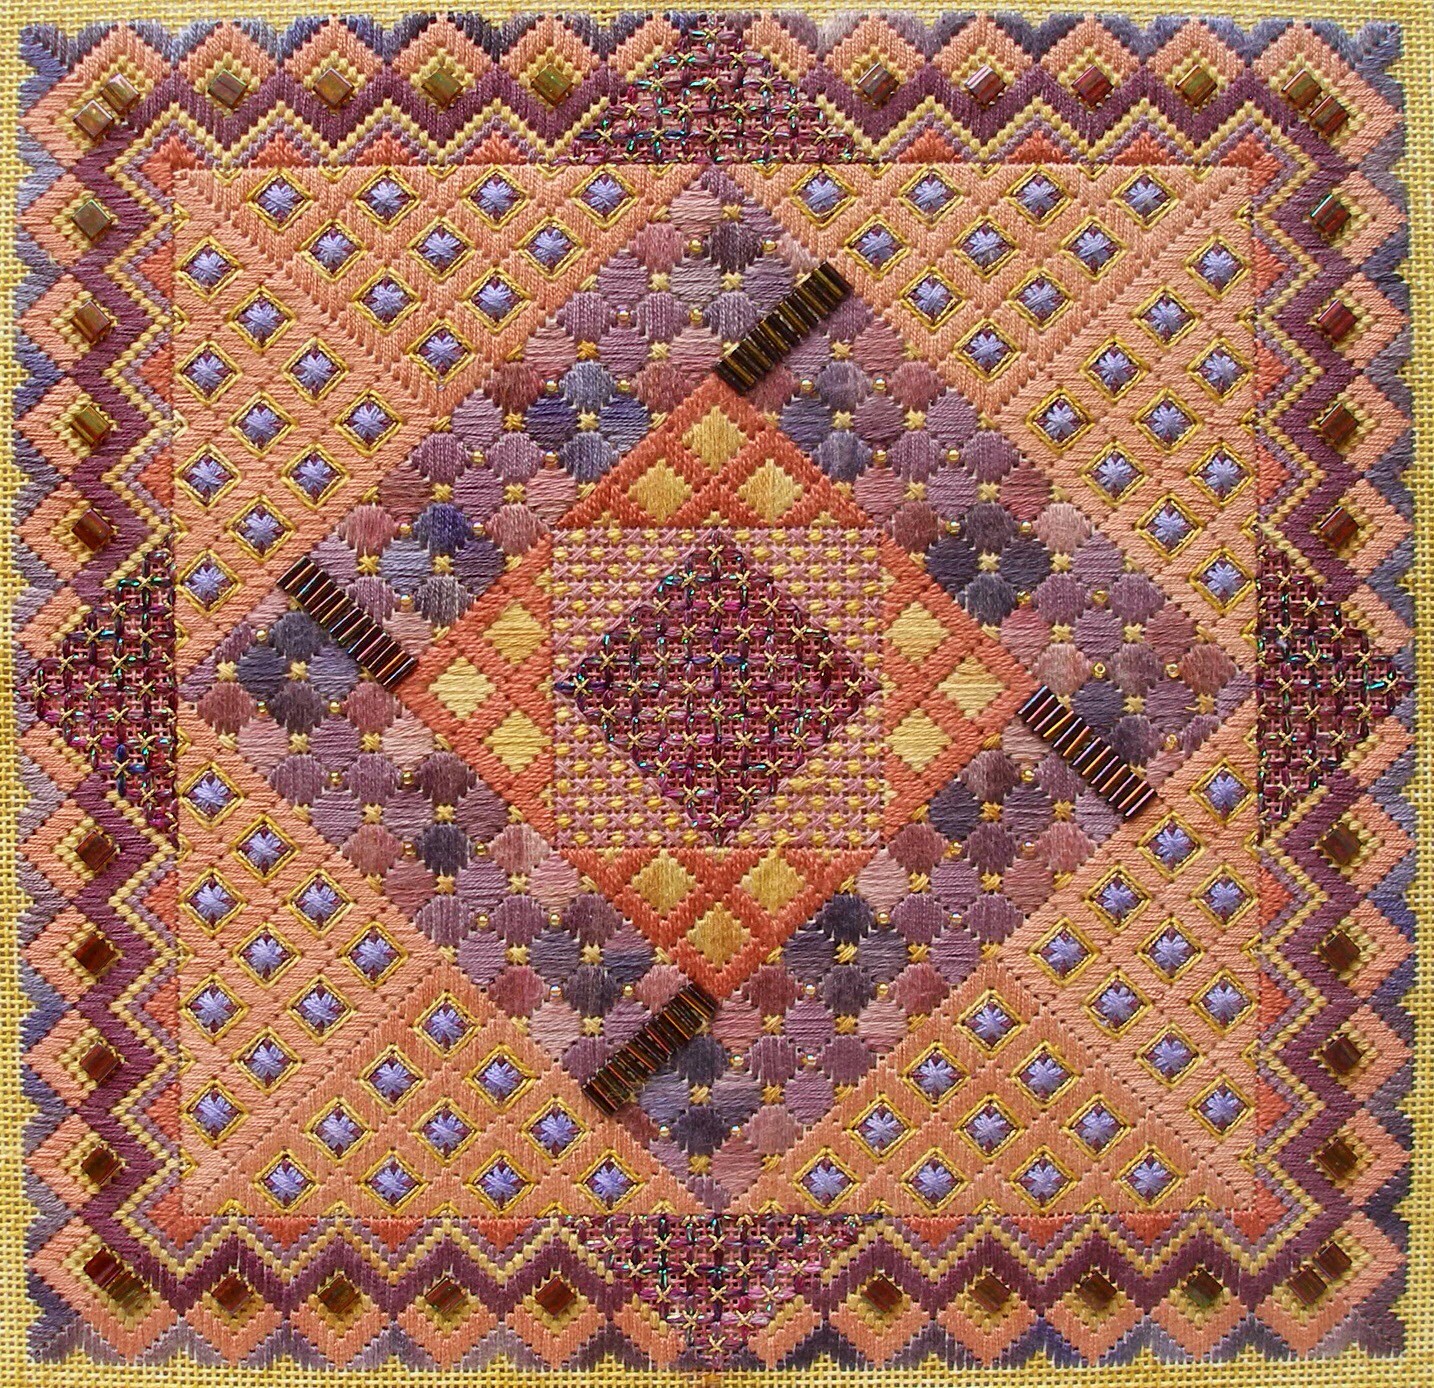
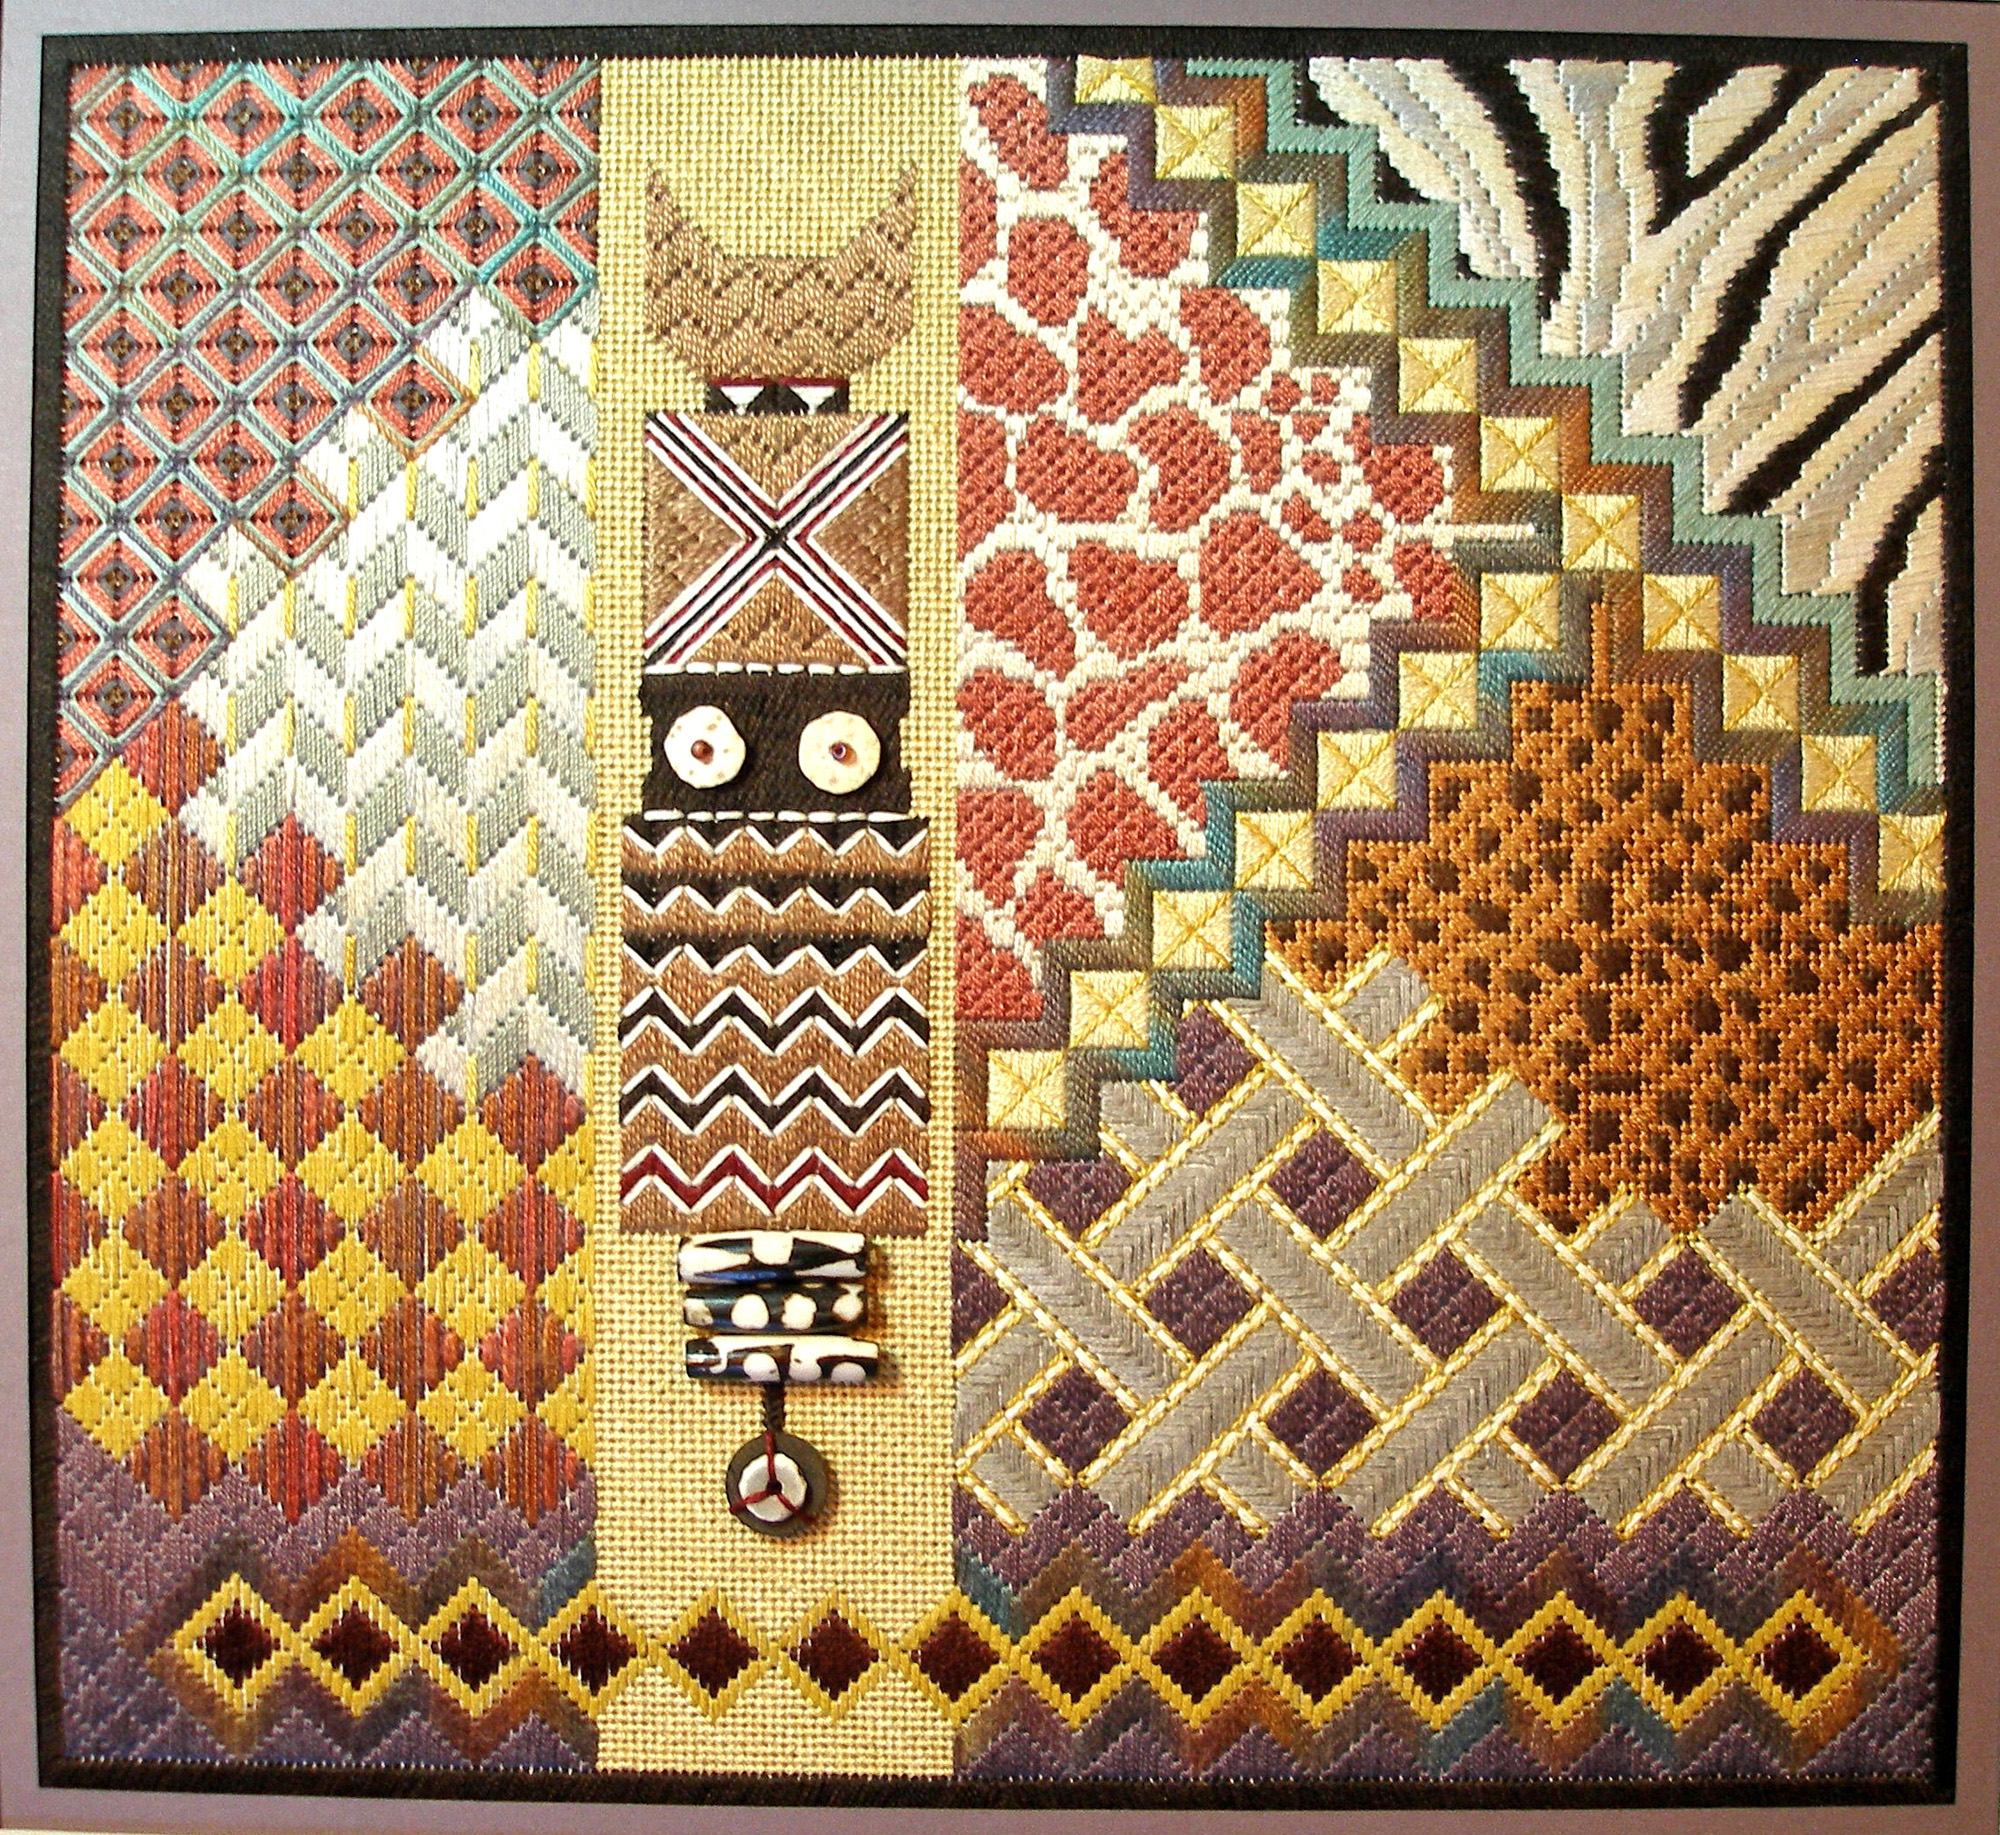
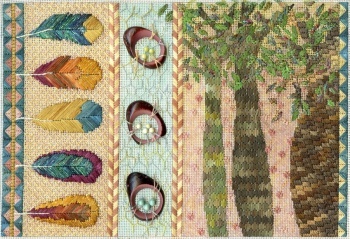
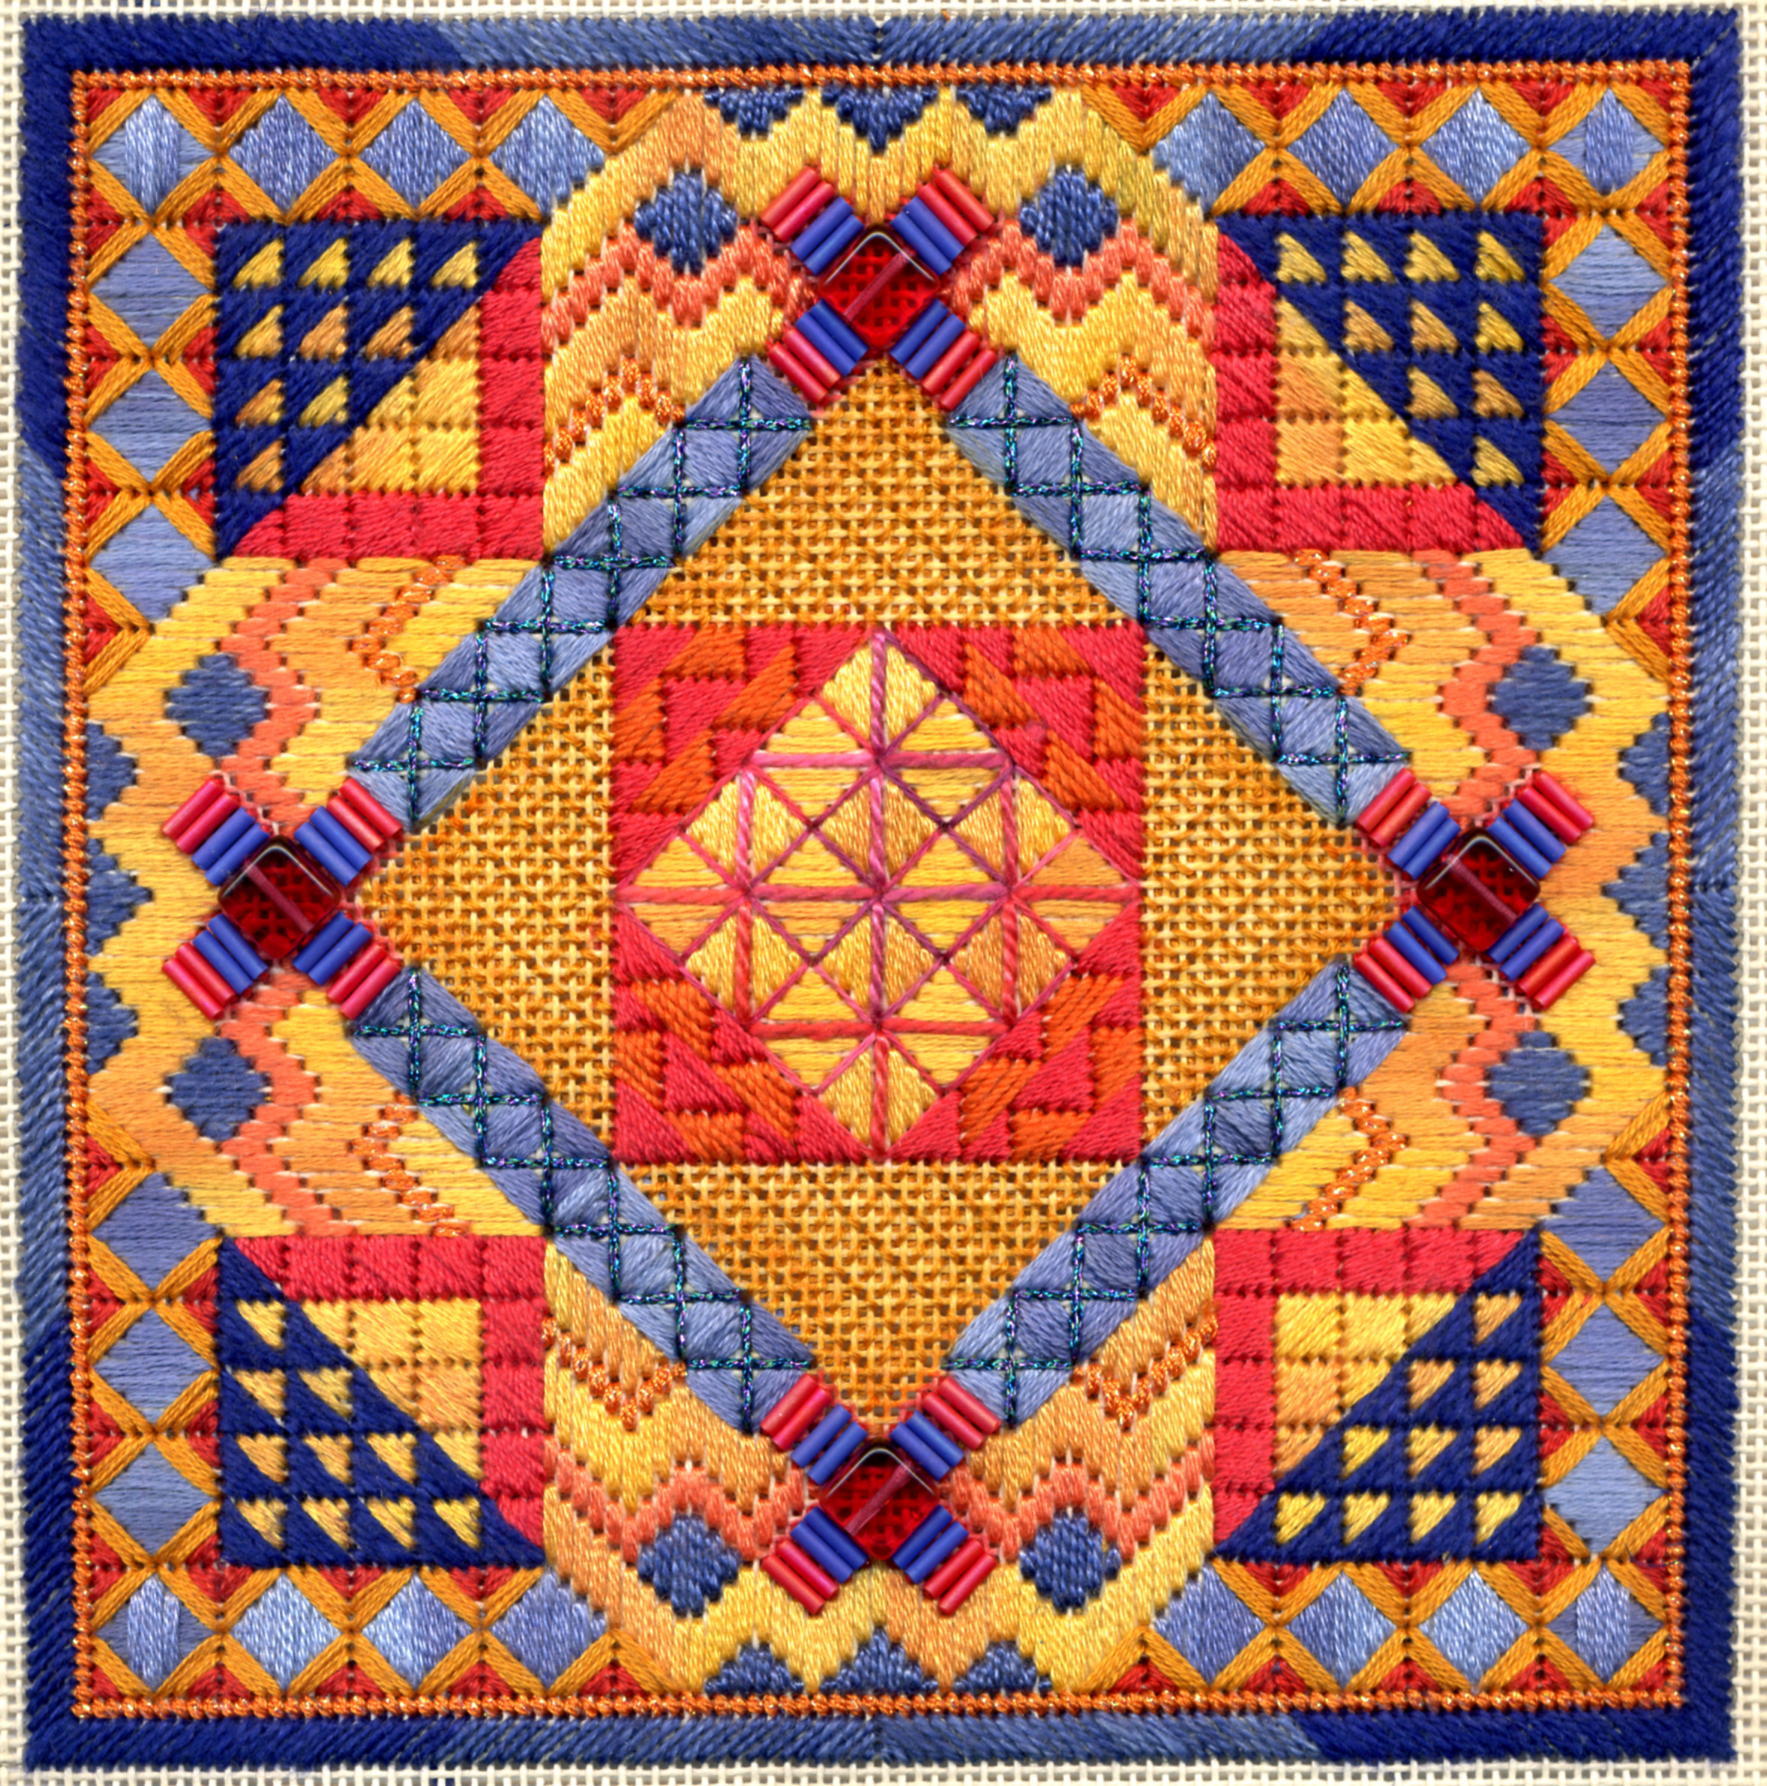
<?xml version="1.0" encoding="UTF-8"?>
<!--Generated by Squarespace Site Server v5.9.3 (http://www.squarespace.com/) on Sun, 21 Mar 2010 15:24:55 GMT--><feed xmlns="http://www.w3.org/2005/Atom" xmlns:dc="http://purl.org/dc/elements/1.1/"><title>Color Texture Stitch</title><subtitle>Color Texture Stitch</subtitle><id>http://www.terrydryden.com/-blog/</id><link rel="alternate" type="application/xhtml+xml" href="http://www.terrydryden.com/-blog/"/><link rel="self" type="application/atom+xml" href="http://www.terrydryden.com/-blog/atom.xml"/><updated>2010-02-20T02:07:03Z</updated><generator uri="http://www.squarespace.com/" version="Squarespace Site Server v5.9.3 (http://www.squarespace.com/)">Squarespace</generator><entry><title>COLOR KALEIDOSCOPE</title><category term="Color Kaleidoscope"/><category term="Designing with Color"/><category term="Geometric Needlework"/><category term="Geometrics"/><category term="New Design"/><category term="designing with color"/><category term="new design"/><id>http://www.terrydryden.com/-blog/2010/2/19/color-kaleidoscope.html</id><link rel="alternate" type="text/html" href="http://www.terrydryden.com/-blog/2010/2/19/color-kaleidoscope.html"/><author><name>Terry Dryden</name></author><published>2010-02-20T01:34:40Z</published><updated>2010-02-20T01:34:40Z</updated><content type="html" xml:lang="en-US"><![CDATA[<p><span class="full-image-block ssNonEditable"><span><img style="width: 420px;" src="http://www.terrydryden.com/storage/ProposalCoverScan.jpg?__SQUARESPACE_CACHEVERSION=1266630809999" alt="" /></span></span>The last few weeks have been busy, with teaching a new class and finishing up proposals for 2011.&nbsp; I am putting the finishing touches on the last one today and they go in the mail on Monday! <em>Color Kaleidoscope, </em>shown above, is new I will be submitting, in addition to<em> Leaf Collage</em> (previously shown).&nbsp; As you can see I have finished the left side, complete with the beads.&nbsp; The total size is 7" X 7" but I do plan to add a border, which will add about another 1/2" to 1".&nbsp;</p>
<p>For the proposal I sketched in the outline for the second half and then blocked in the colors with two to three layers of water color, followed up with color pencils for definition.&nbsp;&nbsp; There wasn't enough room to scan the drawing turned on point as I would have liked.....but hopefully you can get the idea.&nbsp;</p>
<p>This is my interpretation of a 12-point color wheel with the emphasis being on complimentary and analogous colors.&nbsp; It&nbsp; has taken 31 threads and beads so far...just to stitch the first half....and I estimate 40 to 45 threads and beads overall. &nbsp;</p>
<p>I've had a lot of fun designing this project.&nbsp; Can you begin to pick out the complimentary color patterns? And I know it is might be hard to see, but the beads are in the skinniest, zig zag patterns (green and red-orange).&nbsp; I really like those flat, square beads.&nbsp;</p>
<p>Wishing everyone a great week and better weather.</p>
<p>&nbsp;</p>]]></content></entry><entry><title>Buttonhole Stitch</title><category term="&quot;In Stitches&quot; Column"/><category term="Buttonhole Stitch"/><category term="Contemporary Needlework"/><category term="Designing with Texture"/><category term="FUNKY ROSE"/><category term="Funky Rose"/><category term="In Stitches column"/><category term="NeedlePointers magazine"/><category term="River Silks Ribbon"/><category term="This and That"/><id>http://www.terrydryden.com/-blog/2010/1/18/buttonhole-stitch.html</id><link rel="alternate" type="text/html" href="http://www.terrydryden.com/-blog/2010/1/18/buttonhole-stitch.html"/><author><name>Terry Dryden</name></author><published>2010-01-18T22:41:53Z</published><updated>2010-01-18T22:41:53Z</updated><content type="html" xml:lang="en-US"><![CDATA[<p><span class="full-image-float-right ssNonEditable"><span><img style="width: 240px;" src="http://www.terrydryden.com/storage/funkyrose8?__SQUARESPACE_CACHEVERSION=1263855659229" alt="" /></span></span>Thanks for visiting!&nbsp; I know it has been awhile.....again.&nbsp; I have been posting infrequently at best.&nbsp; During the last three weeks I've finished the Olivia Ostrich instruction book (shown in my most recent post).&nbsp; Now I am in the middle of the <a href="http://www.terrydryden.com/funky-rose/">Funky Rose</a> instructions which will be a pilot class in March.&nbsp; One of the features of this design is a large buttonhole stitch rose stitched with River Silks 7mm ribbon.&nbsp;</p>
<p><span class="full-image-float-left ssNonEditable"><span><img style="width: 240px;" src="http://www.terrydryden.com/storage/Buttonhole600.jpg?__SQUARESPACE_CACHEVERSION=1263855886005" alt="" /></span></span>In the process of writing the instructions I have been creating stitch diagrams and graphs and have been reviewing all that I have previously created using buttonhole stitches.&nbsp; And there it was.......my very first "In Stitches" column in the May 2007 issue of<em> Needle Pointers </em>magazine. The sample I stitched for it has lots of examples of various used for buttonhole so I thought it might be fun to show them again here.&nbsp;&nbsp; And here are the basic stitch diagrams for reference.&nbsp; I hope you get some ideas you're able to use in your projects.&nbsp; Buttonhole stitches add lots of texture as you can see.&nbsp; <span class="full-image-block ssNonEditable"><span><img style="width: 260px;" src="http://www.terrydryden.com/storage/ButtonholeGeneric.JPG?__SQUARESPACE_CACHEVERSION=1263855928278" alt="" /></span></span></p>
<p><span class="full-image-block ssNonEditable"><span><img style="width: 260px;" src="http://www.terrydryden.com/storage/ButtonholeGenCircle.JPG?__SQUARESPACE_CACHEVERSION=1263855935966" alt="" /></span></span></p>
<p>Have a great week!</p>]]></content></entry><entry><title>Olivia Ostrich</title><category term="Contemporary Needlework"/><category term="Designing with Texture"/><category term="Oliivia Ostrich"/><id>http://www.terrydryden.com/-blog/2009/12/27/olivia-ostrich.html</id><link rel="alternate" type="text/html" href="http://www.terrydryden.com/-blog/2009/12/27/olivia-ostrich.html"/><author><name>Terry Dryden</name></author><published>2009-12-28T03:54:08Z</published><updated>2009-12-28T03:54:08Z</updated><content type="html" xml:lang="en-US"><![CDATA[<p>Time really flies by between Thanksgiving and Christmas....or at least it does for me.&nbsp; About halfway between I always if everything will get done, but it always does.&nbsp; Our family Christmas was very nice and I hope yours was the same!&nbsp;</p>
<p>During the last few weeks I have been designing and stitching the column I write for the May 2010 through March 2011 issues of the ANG <em>Needle Pointers </em>Magazine.&nbsp; I'm happy to say all six of them are just about&nbsp; completed.&nbsp; I continued the theme I started last year as stitchers have told me they enjoy seeing the "tile patterns".&nbsp; So I hope you'll look for them.&nbsp;</p>
<p><span class="full-image-float-right ssNonEditable"><span><img style="width: 250px;" src="http://www.terrydryden.com/storage/Olivia%20Ostrich%20full%20size%2024%20Congress%20I.jpg?__SQUARESPACE_CACHEVERSION=1261973589100" alt="" /></span></span>Now on to the next project.&nbsp; Before I get started stitching on another proposal, I must write the instruction book for <em>Olivia Ostrich.</em>&nbsp; I designed and stitched this piece back in 2001 but set it aside.&nbsp; But a few months ago the members were told to bring something we had stitched some time ago.&nbsp; I thought this would be a good project to bring as my designs have changed somewhat since that time.&nbsp;&nbsp; Several of the guild members liked it, Olivia is kind of silly and fun, and now we are having it as a one-day workshop in early February.&nbsp; There's that "time" thing again....so much to do, so little time.&nbsp;</p>
<p>The project was originally stitched on 24 count Congress, but it should translate easily to 18 count, so I'm offering it in both sizes.&nbsp;&nbsp; The stitching was done with limited threads:&nbsp; stranded silk, Kreinik #4 braid, metallic cord, and Arctic Rays and the finished size, including the border is 3-3/4" X 9" on 24 count. Depending on the response, <em>Olivia</em> might be available as a future kit.</p>
<p>I will be back sooner next time, and hopefully with some progress photos of the next new design.&nbsp;</p>
<p>Happy New Years to everyone!</p>
<p>&nbsp;</p>
<p>&nbsp;</p>]]></content></entry><entry><title>A stitched leaf.....</title><category term="Designing with Color"/><category term="LEAF COLLAGE"/><category term="Leaf Collage"/><category term="New Design"/><category term="new design"/><id>http://www.terrydryden.com/-blog/2009/11/28/a-stitched-leaf.html</id><link rel="alternate" type="text/html" href="http://www.terrydryden.com/-blog/2009/11/28/a-stitched-leaf.html"/><author><name>Terry Dryden</name></author><published>2009-11-28T22:18:59Z</published><updated>2009-11-28T22:18:59Z</updated><content type="html" xml:lang="en-US"><![CDATA[<p>Well, the first leaf....the Ginkgo....is finally done! The technique used is what I think of as "rustic".&nbsp; I love the look created with carefully blended silk threads, but do not feel it fits well with the type of textured pieces I tend to design.&nbsp; I am trying to capture the essence......the colors, texture and movement....of each leaf with a limited number of well-placed stitches.<span class="full-image-float-right ssNonEditable"><span><img style="width: 240px;" src="http://www.terrydryden.com/storage/150A.jpg?__SQUARESPACE_CACHEVERSION=1259448441050" alt="" /></span></span></p>
<p>I used stranded silk thread for this leaf, except for the stem, but I varied the number of strands, with more strands being used for the two oranges. (The background is meant to peek through in places!)</p>
<p>Still to come is some type of openwork stitch for the background around the leaf, but I haven't decided on the stitch yet.&nbsp; It will definitely be stitched to blend in with the background.&nbsp;</p>
<p>Now I must set this design aside for a few months while I work on some other designs.&nbsp; But,&nbsp; I want to comment on another piece from the past....The Plump Pear!&nbsp; I have had several inquiries about it recently, and have to admit 've been stalled with it.&nbsp; But I've had a few suggestions which I plan to incorporate (thank you!) and plan to get back to it.&nbsp; It isn't abandoned, just resting!</p>
<p>Well, I'm off now to do some online Christmas shopping! Happy Weekend!</p>]]></content></entry><entry><title>Leaf Collage Update II</title><category term="Designing with Stitches"/><category term="Designing with Texture"/><category term="LEAF COLLAGE"/><category term="Leaf Collage"/><category term="Needlepoint"/><category term="New Design"/><category term="new design"/><id>http://www.terrydryden.com/-blog/2009/11/17/leaf-collage-update-ii.html</id><link rel="alternate" type="text/html" href="http://www.terrydryden.com/-blog/2009/11/17/leaf-collage-update-ii.html"/><author><name>Terry Dryden</name></author><published>2009-11-18T03:23:10Z</published><updated>2009-11-18T03:23:10Z</updated><content type="html" xml:lang="en-US"><![CDATA[<p>A few people have checked on me to make sure I'm still here because it has been so long between postings!&nbsp; When I last posted I was leaving for a few days to teach a workshop and when I returned I realized my studio was just too much of a disorganized mess to continue.&nbsp; So, among other things I have been doing lots of little reorganization jobs.&nbsp; It was too much to consider the whole problem as a whole.&nbsp; The job is certainly not done.....is it ever?&nbsp; But things are back on track and I actually have my worktable back.&nbsp;</p>
<p>&nbsp;<span class="full-image-block ssNonEditable"><span><img style="width: 420px;" src="http://www.terrydryden.com/storage/Leaf Collate 111709.jpg?__SQUARESPACE_CACHEVERSION=1258516487086" alt="" /></span></span></p>
<p>I have been stitching on Leaf Collage and am posting an update here.&nbsp; I will post one more photo in a day or two and then it will have to be set aside while I stitch on a few more projects.&nbsp; I promise to continue with the project later!&nbsp; Since the last update I have completed the "zig zag" vertical band and the frame at the lower right.&nbsp; The frame is a slanted gobelin variation worked in two colors.&nbsp; A little finicky to stitch but it&nbsp;certainly gives an interesting effect.&nbsp; The rust, red and orange area at the top center is new.&nbsp; I'm calling it a "gingham" stitch but it is stitched on the diagonal instead of the usual straight stitches.&nbsp; The final new area is the background.&nbsp; You can just catch the little bit of glitter.&nbsp; Just enough stitching to integrate the rest of the stitching with the open background.&nbsp; The last update before the hiatus will be one stitched leaf.</p>
<p>I've also been asked whatever happened to the Plump Pear.&nbsp; Well, it has stalled a little, but I definitely plan to get back to that too....and will update that project also.&nbsp; One of the issues is that I have realized I won't be able to kit with several of the threads&nbsp; I've already used and need to see what is available as substitutes.&nbsp; When a teacher is thinking in terms of teaching projects, this is always a consideration.</p>
<p>So, many projects in the works but little to show right now.&nbsp; But keep checking back.&nbsp; Over the next 3 months I hope to have several projects to show you.</p>
<p>Happy stitching!</p>
<p>&nbsp;</p>]]></content></entry><entry><title>Leaf Collage update</title><category term="Designing with Color"/><category term="Designing with Stitches"/><category term="Designing with Texture"/><category term="LEAF COLLAGE"/><category term="Leaf Collage"/><category term="New Design"/><category term="New Techniques"/><category term="Work Spaces"/><category term="contemporary needlepoint"/><id>http://www.terrydryden.com/-blog/2009/10/22/leaf-collage-update.html</id><link rel="alternate" type="text/html" href="http://www.terrydryden.com/-blog/2009/10/22/leaf-collage-update.html"/><author><name>Terry Dryden</name></author><published>2009-10-22T22:26:12Z</published><updated>2009-10-22T22:26:12Z</updated><content type="html" xml:lang="en-US"><![CDATA[<p><span class="full-image-block ssNonEditable"><span><img style="width: 430px;" src="http://www.terrydryden.com/storage/Leaf Collage 1022_edited-4.jpg?__SQUARESPACE_CACHEVERSION=1256254117156" alt="" /></span></span></p>
<p>&nbsp;</p>
<p>First...a note about the above photo.&nbsp; Just a reminder this project is on eggshell canvas.&nbsp; It was taken outside today with great natural lighting.&nbsp; Most of the previous postings have been scanned images which tend to bleach out the canvas.&nbsp; But, this photo and the original ones of the individual leaves most closely represent what I see when I am stitching.&nbsp; Of course I think the colors on everyone's monitor is different!</p>
<p>It has been 17 days since my last post with very little to show for myself in the way of stitching progress.&nbsp; But, I wanted to show what I have done anyway.&nbsp; The last time I was unhappy with the vertical band on the left....too bright after the background was added.&nbsp; A reader suggested copper as a possibility and she was right.&nbsp; This new version is more copper and orange.....less gold.....so it has a little softer look.&nbsp; I also used copper in the frame to the right of the vertical band.&nbsp; There are three threads in the frame.&nbsp; It's a rice stitch!&nbsp; The overdyed thread is a coppery orange and mauve/purple.&nbsp; I plan to add a few subtle rose to mauve threads here and there.&nbsp; One is used with copper in the skinny vertical band on the right side.&nbsp;</p>
<p>The question I have now is if I need to change the vertical band to the very right.....the one in blue/green and gold?&nbsp; I should take my own advice and wait until I have most of it done before deciding....or have added more color around it.&nbsp; Or maybe the stitch itself is not the right choice.&nbsp; Something to be decided later.&nbsp;</p>
<p>I am leaving in the morning for a teaching trip and when I return on Monday afternoon I have no more flying trips planned until March.&nbsp; So I plan to start stitching again in earnest. The holidays will be here before we know it and then.....where does the time go?!?&nbsp;</p>
<p>So I hope to be back with a significant update in about a week to 10 days.</p>
<p>Happy Halloween to Everyone!!</p>
<p>&nbsp;</p>
<p>&nbsp;</p>]]></content></entry><entry><title>New design - work continues</title><id>http://www.terrydryden.com/-blog/2009/10/5/new-design-work-continues.html</id><link rel="alternate" type="text/html" href="http://www.terrydryden.com/-blog/2009/10/5/new-design-work-continues.html"/><author><name>Terry Dryden</name></author><published>2009-10-06T05:16:38Z</published><updated>2009-10-06T05:16:38Z</updated><content type="html" xml:lang="en-US"><![CDATA[<p><span class="full-image-float-right ssNonEditable"><span><img style="width: 275px;" src="http://www.terrydryden.com/storage/LC%20LeftHalf10-5-09%20300.jpg?__SQUARESPACE_CACHEVERSION=1254808783154" alt="" /></span></span>I haven't been able to do any stitching on the new leaf design since my last posting but I finally took the plunge and colored in the area I plan to be exposed canvas, or only lightly stitched.&nbsp; I used a marker technique using three Copic transparent markers.&nbsp; The colors used were a light green, a medium-dark blue green and a dark indigo.&nbsp;&nbsp; I used the three markers in order, and changed direction with each of the 7 layers.&nbsp;&nbsp; The resulting effect is supposed to be rather like a coarse&nbsp;  linen fabric.</p>
<p>The scan is only of the left side of the design, but gives a good idea of how the technique looks.&nbsp;</p>
<p>The result might look at little rough right now, but there will be a little light stitching over the marker areas which will help to tie the areas together. &nbsp; One interesting thing I did realize was that I really should have added the marker earlier....but I just couldn't design which markers and layering I wanted to use before today.&nbsp; I kept making different samples, but never could settle on one.&nbsp; Now that the background is in, I realize I think the orange and yellow gold vertical strip is too bright and I will re-stitch it in slightly softer tones.&nbsp; Oh well....i'm no stranger to "unstitching".</p>
<p>I will be away for a few days and then back to stitching next week and will post more then. So, wishing everyone a great week.</p>
<p>&nbsp;</p>]]></content></entry><entry><title>New design - stitching begins</title><category term="Designing with Color"/><category term="Designing with Stitches"/><category term="LEAF COLLAGE"/><category term="New Design"/><category term="Work Spaces"/><id>http://www.terrydryden.com/-blog/2009/9/21/new-design-stitching-begins.html</id><link rel="alternate" type="text/html" href="http://www.terrydryden.com/-blog/2009/9/21/new-design-stitching-begins.html"/><author><name>Terry Dryden</name></author><published>2009-09-21T18:56:19Z</published><updated>2009-09-21T18:56:19Z</updated><content type="html" xml:lang="en-US"><![CDATA[<p>This past week had lots going on....but sometimes this can be a good thing.&nbsp; We had our first guild meeting since June so it was fun to catch up with everyone.&nbsp; And my husband and I had a chance to have lunch with our older daughter and son-in-law and had a great time.</p>
<p>But that means things in the studio kept piling up and it's now a big mess with the supplies for lots of individual projects covering every available surface.&nbsp; But at least I have plans to get it all straightened out....the first step!</p>
<p><span class="full-image-block ssNonEditable"><span><img style="width: 420px;" src="http://www.terrydryden.com/storage/ProgScan9-21-09-300.jpg?__SQUARESPACE_CACHEVERSION=1253562375752" alt="" /></span></span></p>
<p>But I did complete a few things.&nbsp; I marked all the canvases for an upcoming pilot....so that is great!&nbsp; But I had to move back to the dining room table to mark them as there was no flat surface big enough in the studio.&nbsp;</p>
<p>And, I stitched each evening on the new design.&nbsp; As you can see I have started with (generally) the top two layers.&nbsp; For this design it seems the best approach is to work with lightest teals and greens first.&nbsp; So these are now in.&nbsp; Step two is two stitch the areas with the lightest/brightest gold and orange shades.&nbsp; The first small band is almost done.&nbsp;</p>
<p>I have been continuing to experiment with the best combination of markers for the background and think I'm about ready to take the plunge and color it in.&nbsp; You can see where the background color will be blocked in by referring back to the scan of the original sketch (posted a little over a week ago.&nbsp; The small narrow band inside the picture frame in the center of the photo is what I've decided to work toward.&nbsp; It's a tricky color as it appears slightly green when stitched (next to greens), but it is really a dark indigo blue thread.&nbsp; At this point I plan to use three different markers and four passes of marker to approximate of color.&nbsp;</p>
<p>Major goal  for this week:&nbsp; finish the instruction book for the upcoming pilot and start putting together the thread kits.&nbsp;</p>
<p>And stitching continues....</p>]]></content></entry><entry><title>A New Design - prepping the canvas</title><category term="Contemporary Needlework"/><category term="LEAF COLLAGE"/><category term="Leaf Collage"/><category term="New Design"/><category term="New Techniques"/><id>http://www.terrydryden.com/-blog/2009/9/13/a-new-design-prepping-the-canvas.html</id><link rel="alternate" type="text/html" href="http://www.terrydryden.com/-blog/2009/9/13/a-new-design-prepping-the-canvas.html"/><author><name>Terry Dryden</name></author><published>2009-09-13T22:33:43Z</published><updated>2009-09-13T22:33:43Z</updated><content type="html" xml:lang="en-US"><![CDATA[<p>Well, the ANG Seminar in Milwaukee was great.&nbsp; All my classes went well and all the volunteers did a really wonderful job of making everything run smoothly.&nbsp; But, of course, as much I look forward to it, I am always glad to get back home!</p>
<p>It seems to take about a week to get caught up and ready to move forward.&nbsp; So here I am, just now finishing up the Leaf Collage canvas....with big plans to take my first stitches this evening.&nbsp;</p>
<p>In a recent blog entry I showed a picture of the original proposal and a postcard showing the direction I want to go with color.&nbsp; The next step was to redo the original leaf drawings and change the colors a little to work better with the planned changes.&nbsp; Then, I experimented with transferring these drawings to the eggshell 18 count canvas.&nbsp;</p>
<p>TRANSFERING THE LEAF DESIGNS</p>
<p>I tried both Tee-shirt transfer paper and the new Transfer Artist Paper by Leslie Riley.&nbsp; Both worked but for my needs the Transfer Artist Paper (TAP) gave just the look I was hoping for....and it's really easy to use!!</p>
<p><span class="full-image-float-left ssNonEditable"><img style="width: 200px;" src="http://www.terrydryden.com/storage/Leaf%20Collage%20Leaf%20Print%20A.jpg?__SQUARESPACE_CACHEVERSION=1252882386056" alt="" /></span><span class="full-image-block ssNonEditable"><img style="width: 200px;" src="http://www.terrydryden.com/storage/Leaf%20Collage%20Leaf%20Print%20B.jpg?__SQUARESPACE_CACHEVERSION=1252882640769" alt="" /></span></p>
<p><span style="font-size: 110%;">****Just a note about the pictures.....these are a combination of scans and photos so the canvas color is not consistent - all the canvas is <strong>eggshell 18 count mono canvas.</strong></span></p>
<p><span class="full-image-float-right ssNonEditable"><img style="width: 250px;" src="http://www.terrydryden.com/storage/Canvas1-150.jpg?__SQUARESPACE_CACHEVERSION=1252884177467" alt="" /></span>The scan at right is of the right half of the design showing two more leaf designs.&nbsp; You can see a partial image of a leaf shown above (helpful for scale).&nbsp;</p>
<p>For this design I had to plan the general layout in greater detail than I usually do because the leaf transfers needed to be added before any stitching is done.&nbsp;&nbsp; Even though I had work through several of the transfer sheets with my experiments, the combination of the heat of the iron and the length of time&nbsp; I ironed the design caused the surrounding canvas to darken a little....at the beginning, but that is not a problem with this design. And, by the time I reached the 5th and final leaf, I had gotten the timing down pretty well.....15 to 20 seconds is all that is needed for these small leaf patterns. &nbsp;&nbsp; By the way, I scanned in my original painted drawings and arranged them all on one 8-1/2" by 11" sheet so they would print on one sheet of transfer paper. Then I cut them to size and ironed.&nbsp;</p>
<p>NOTE: If you are trying this technique:&nbsp; BE SURE TO CREATE MIRROR IMAGES OF THE DESIGN BEING USED, so it will print properly.&nbsp; Also, Ised the settings of"other specialty paper: and "Best" (printing quality).</p>
<p>&nbsp;</p>
<p>NOW TO STITCHING!</p>
<p>I sorted through threads again last night.&nbsp; I had about 10 new ones to add (purchased at M's Canvashouse boutique at Seminar) and then removed about 10 to 15 from the previous selection.&nbsp;</p>
<p>I will post follow-ups as stitching progresses.</p>
<p>Have a great week!</p>
<p>&nbsp;</p>
<p>&nbsp;</p>]]></content></entry><entry><title>ANG Seminar</title><category term="ANG Seminar"/><category term="Needlework Teacher"/><category term="needlework teacher"/><id>http://www.terrydryden.com/-blog/2009/8/25/ang-seminar.html</id><link rel="alternate" type="text/html" href="http://www.terrydryden.com/-blog/2009/8/25/ang-seminar.html"/><author><name>Terry Dryden</name></author><published>2009-08-26T03:59:38Z</published><updated>2009-08-26T03:59:38Z</updated><content type="html" xml:lang="en-US"><![CDATA[<p>I'm afraid I didn't have time to get back to working on the Leaf Collage design as I had hoped.&nbsp; Things just kept cropping up which needed to be done before I leave again. Now the time is almost here and I leave for the ANG Seminar on Thursday morning and won't return home until the evening of September 5th.&nbsp; If you are attending I know you will have a great time.&nbsp; Please stop by to say hello!</p>
<p>The week after I return home I will definitely be working on moving the design forward so I can begin stitching it.....and posting photos of any progress.</p>
<p>Wishing everyone a great few weeks.....and lots of stitching time.</p>
<p>&nbsp;</p>]]></content></entry></feed>